Welcome page
| Introducing the Snow Owl user interface | ||
|---|---|---|
| Previous | Next | |
| Introduction | Application preferences | |
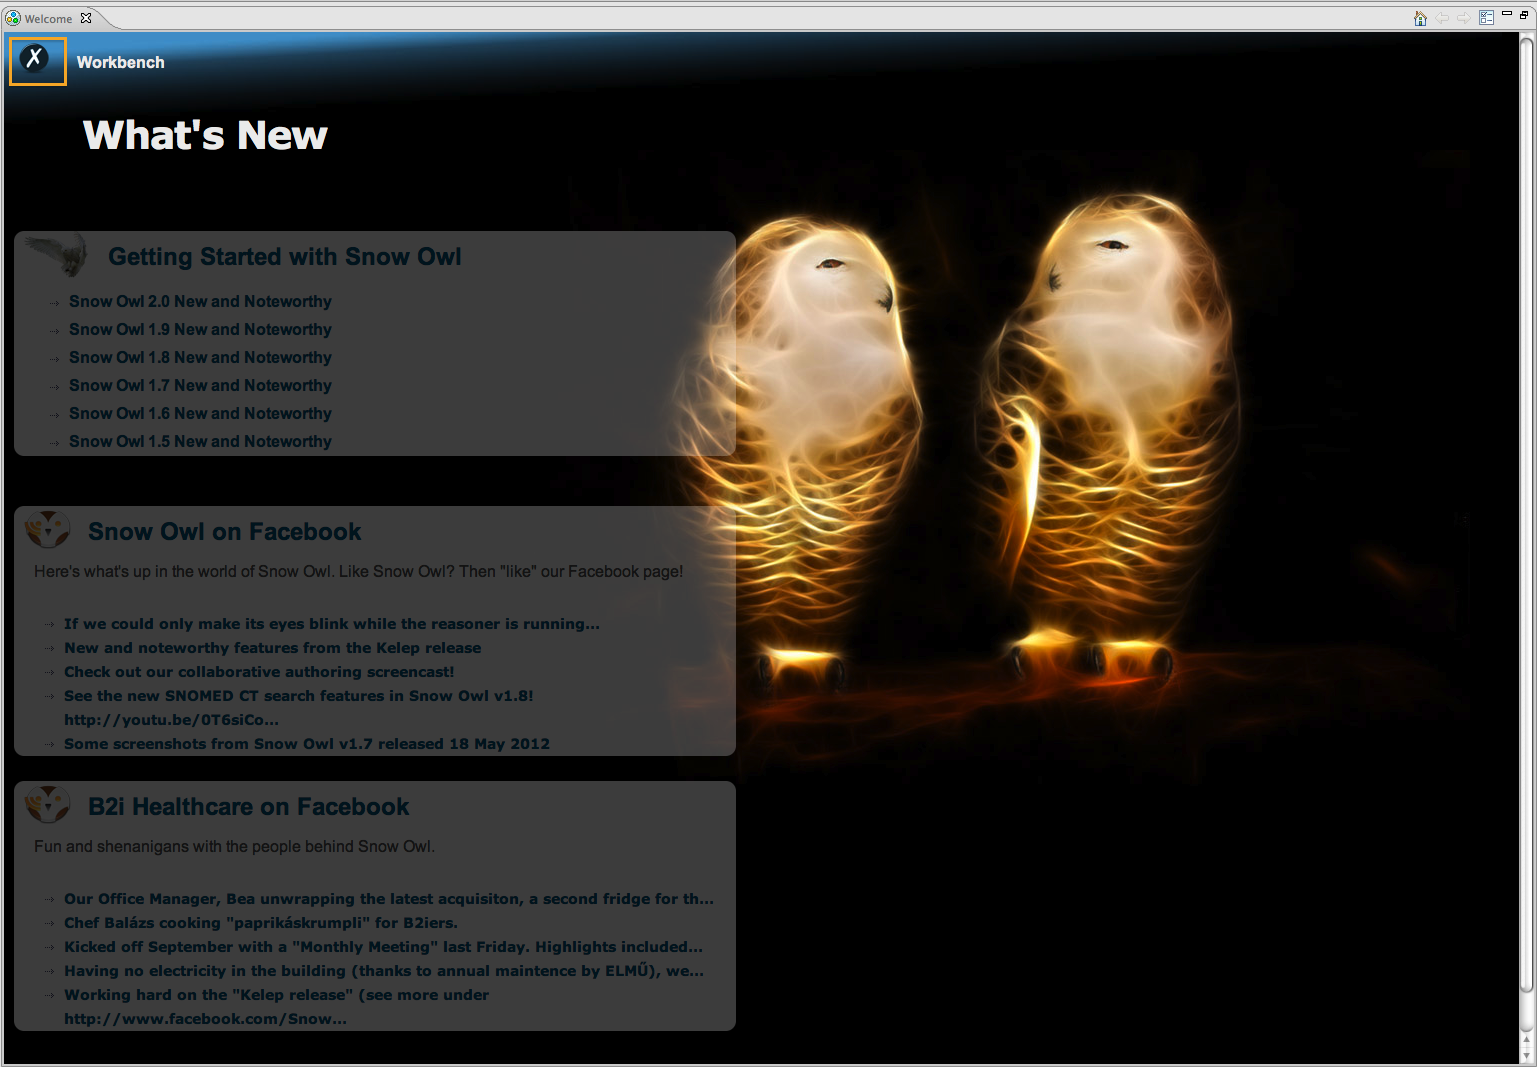
When you use Snow Owl for the first time, the welcome page will be displayed. You can find a lot of useful links there:
To
minimize the Welcome page click the X in the upper left corner (indicated by an orange box in the screen shot), this will take you to Snow Owl. To restore the page, click on the restore icon
![]() on the bottom of the Snow Owl user interface.
on the bottom of the Snow Owl user interface.
To close the Welcome page, click on the X in the tab (next to Welcome). If you want to open the Welcome page again when working with Snow Owl, go to Help > Welcome in the menu.
Note: The Welcome page will be displayed only when opening Snow Owl for the first time. After this, the application will always start with the Snow Owl user interface, but you can use Help > Welcome in the menu to bring up the page.
When you open Snow Owl for the first time you will be presented with the Authoring Perspective, which is the default layout. It contains menus, toolbars and two different kinds of sections: editors and views.

You can change the layout of the user interface according to your needs, and even save different custom perspectives. When closing the application, the latest perspective will be saved, and brought up again when opening Snow Owl.
Editors are always displayed in the central editor area and tied to an edited resource, for example a SNOMED CT concept or reference set. Any number of editors can be open at once, but only one can be active at a time.
Tabs at the top of the editor area show the name of the resource that is currently open for editing, the icons indicate what kind of resource is edited. The icons symbolize the following resource types:
If there isn't enough space to display all active editors, the number of hidden editors will be indicated in the top of the editor area. In the screenshot below, you can see that one editor is hidden which is indicated as >> 1. Clicking on the >> symbol will bring up a list of hidden editors.
An asterisk (*) next to the editor title indicates that an editor has unsaved changes.
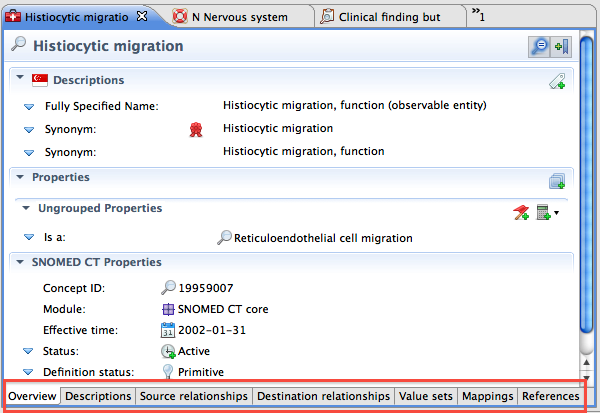
Some editors contain multiple pages; you can switch between them by clicking on the tabs at the bottom of the editor. In the screenshot above you can see a SNOMED CT concept editor with multiple pages (framed in red).
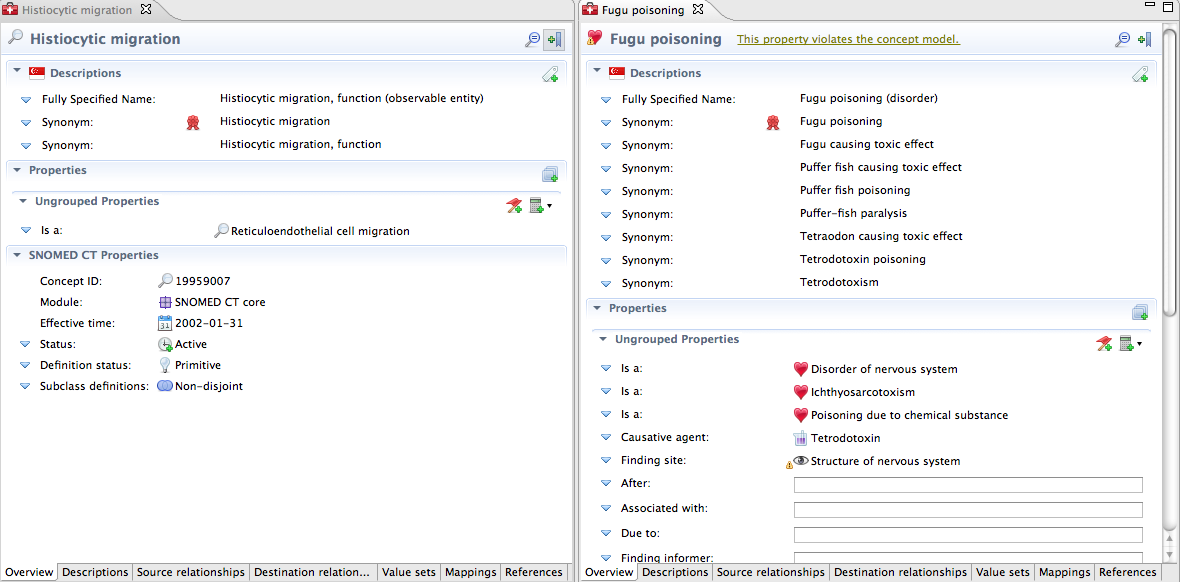
If you want to display editors side by side instead of in a stack, simply drag the editor to the side of the editor area until the cursor turns into an arrow, this indicates that the editor can now be docked as a separate window.
If you would like more horizontal editor space (e.g. for displaying long descriptions in the reference set editor), you can move the reference set view and tasks view from their default position (top right) to another section of the screen. You can also simply double-click the editor tab to maximize the editor; double click-it again to bring it back to its original size.
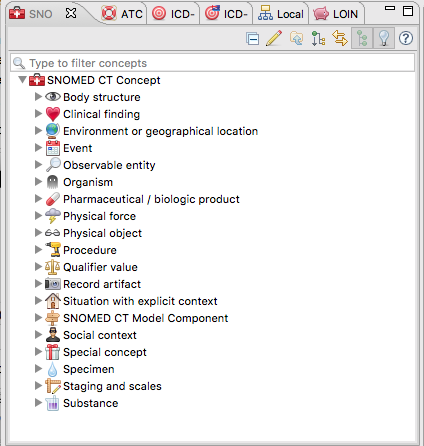
Views support editors and provide alternative presentations as well as ways to navigate information. For example the SNOMED CT Concepts view displays the structure of SNOMED CT as a tree of concepts.
The following views are available in Snow Owl:
The SNOMED CT, ATC, ICD-10, ICD-10-AM, and LOINC view are sometimes referred to as concept navigators, since they allow navigating through the hierarchy.
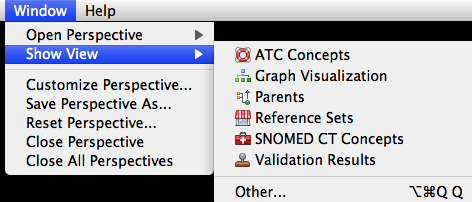
To see all available views select Window > Show View. To bring up a view that isn't in the list go to Window > Show View > Other > Snow Owl.
Views have their own menus and toolbars; the actions represented by buttons on the toolbar only affect the items within that view. A view might appear by itself, or stacked with other views in a tabbed notebook (see screenshot below).
You can resize and arrange views by dragging them to different docking positions in the user interface. When dragging a view, you will see that the cursor changes. If you drop the view when an arrow is displayed the view will be docked as a separate window, if a stack is displayed it will be docked as a tabbed notebook. Views can not be docked in the central area because it is reserved for editors.
A perspective defines the initial set and layout of views in Snow Owl. You can rearrange the user interface in a way that helps you perform your current task. You can select a perspective by choosing Window > Open Perspective. In addition to any customized perspectives that you may wish to create, we include several default perspectives. Click on one of the perspective icons located at the top right of the main toolbar to active a persepctive.
Additional buttons might appear for customer specific extensions of Snow Owl such as the Singapore Drug Dictionary Perspective which you can see in the screenshot below.
The default perspectives are:
The
Authoring Perspective is the default setting. It displays the largest number of views and gives easy access to most features.
The perspective can be invoked by clicking the owl
![]() button in the toolbar.
button in the toolbar.

The
Reference Set Perspective is useful for creating reference sets and editing their members. It displays the reference set view to the left and the editor to the right. The perspective can be invoked by clicking the respective
![]() button in the toolbar.
button in the toolbar.

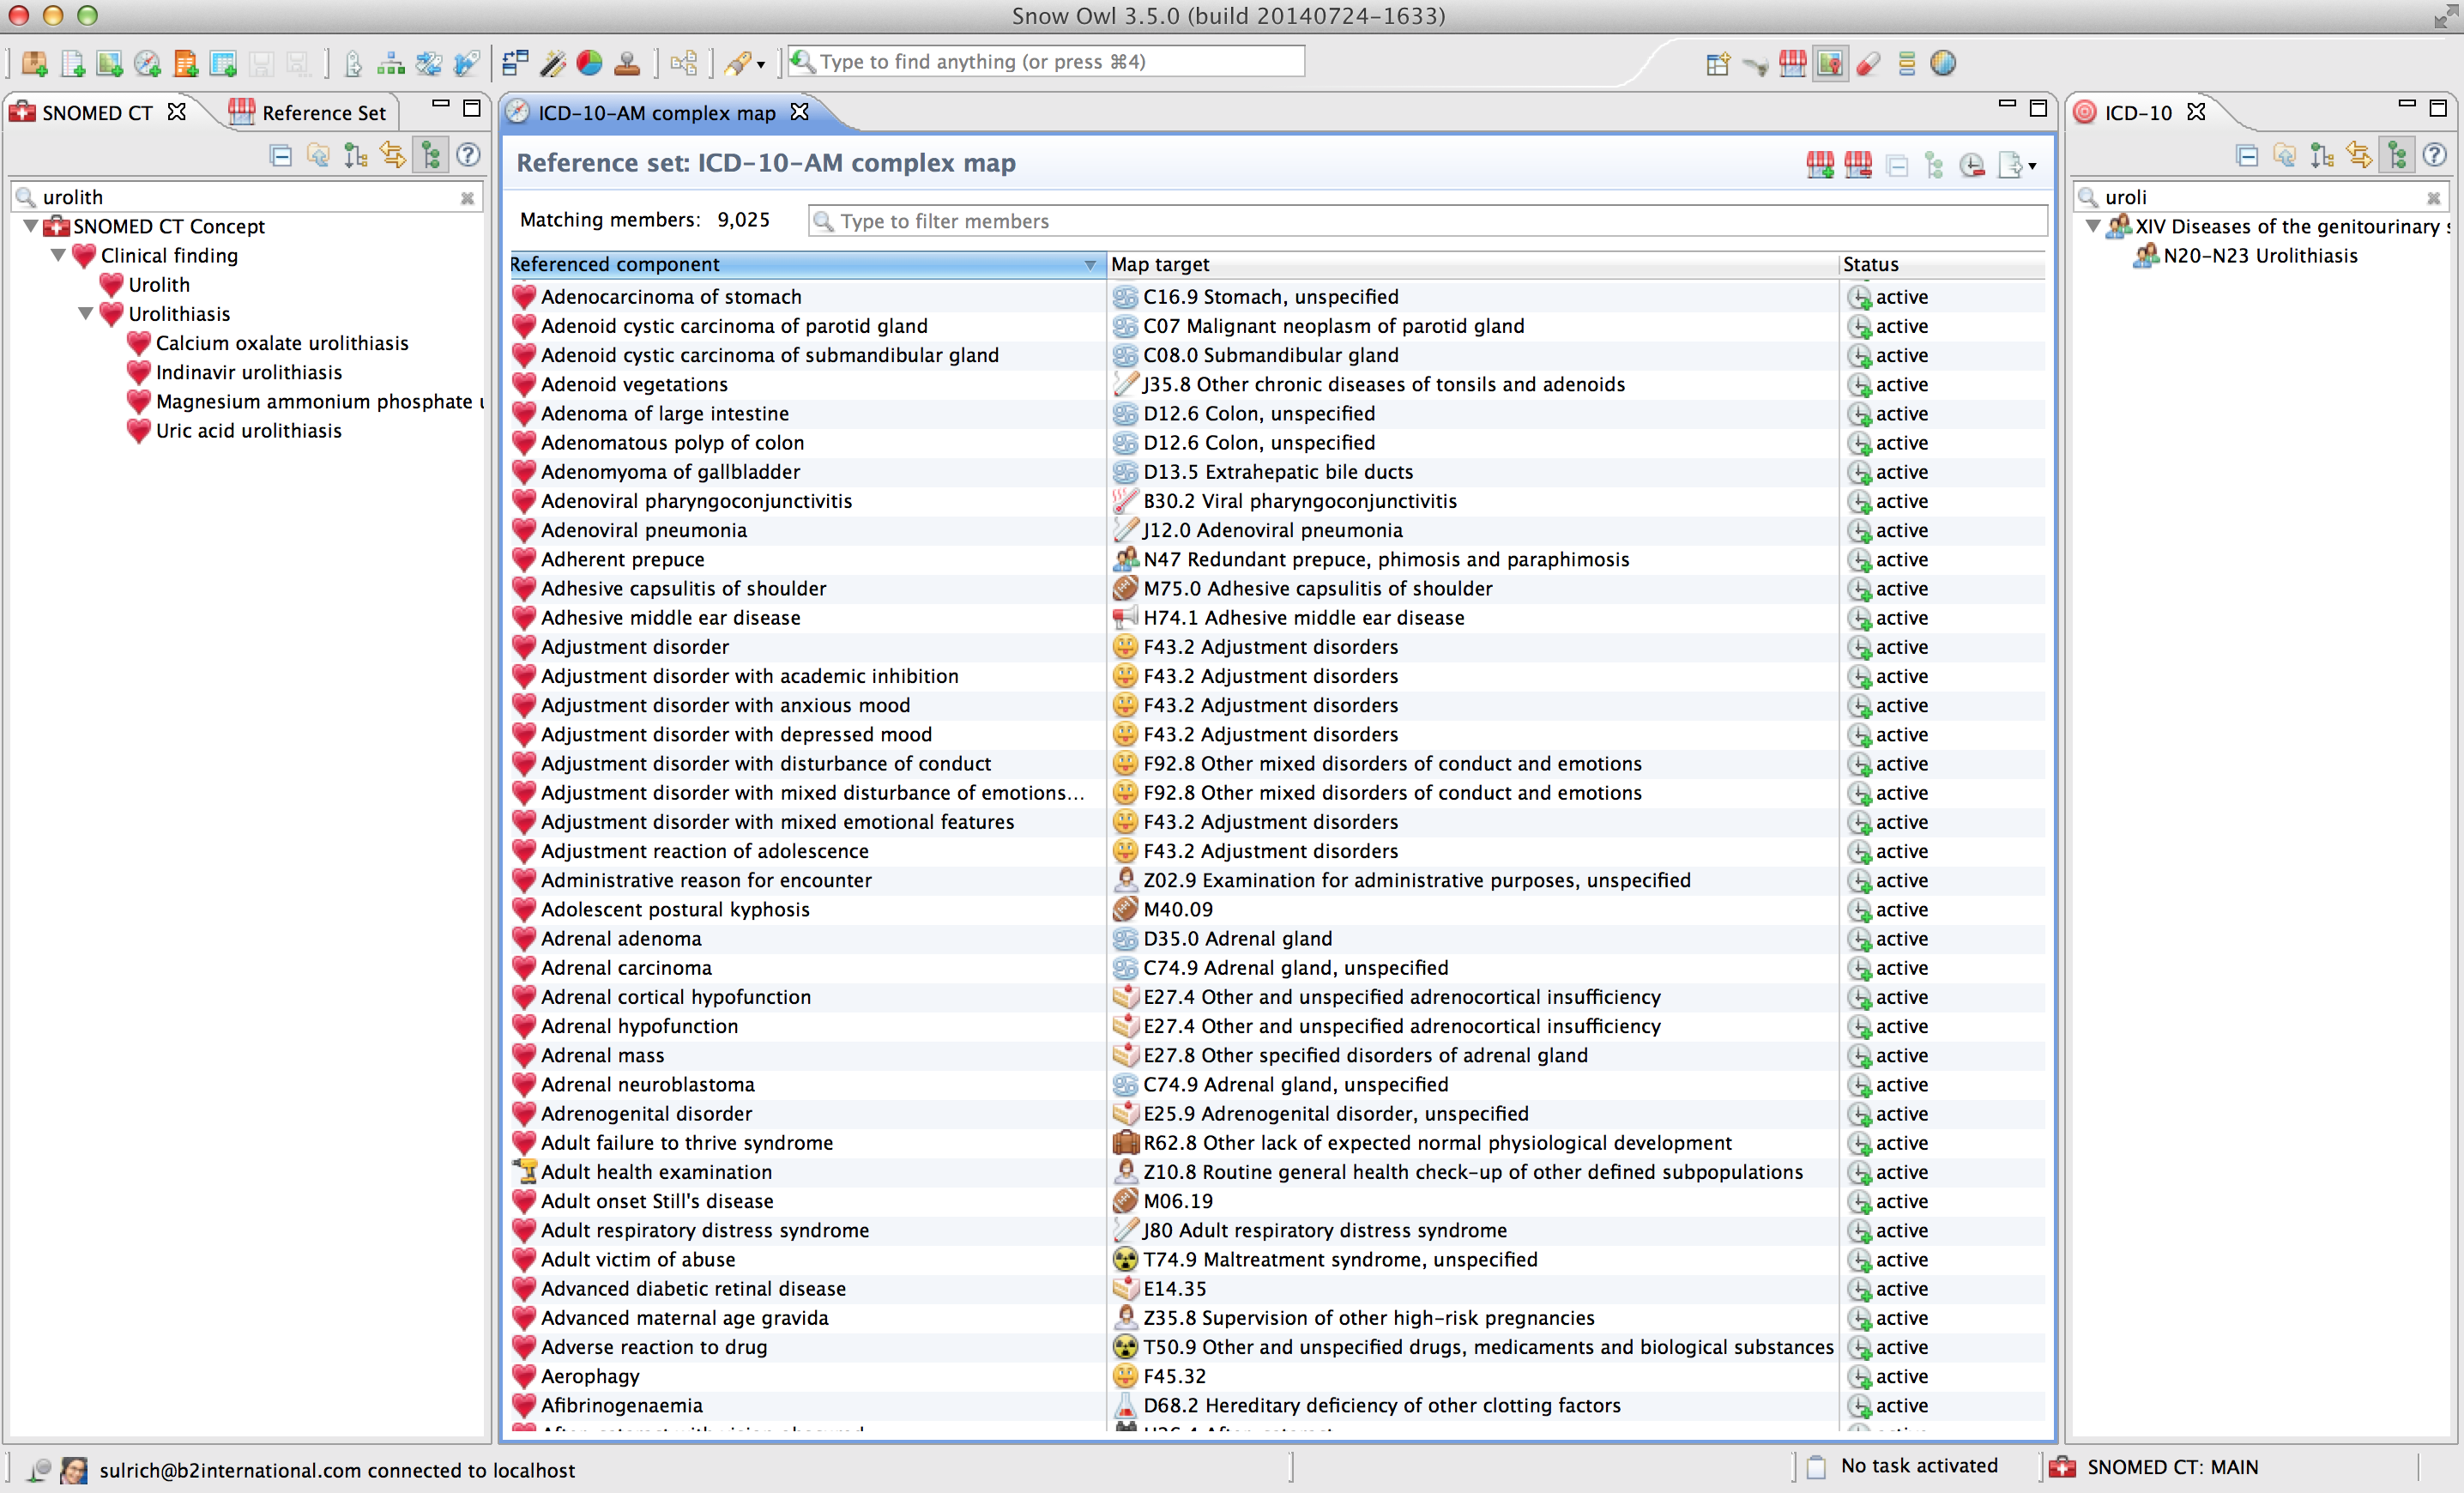
The
Mapping Perspective is useful for mapping SNOMED CT to other terminologies such as ICD-10. It displays the SNOMED CT Concept view and the Reference set view to the left, and the ICD-10 view to the right. The perspective can be invoked by clicking the respective
![]() button in the toolbar.
button in the toolbar.
New SNOMED CT members can be added by dragging them from the terminology view into the mapping editor.
The
Value Domain Perspective displays the Value domains on the right, the editor in the middle, and different terminology views (SNOMED CT, LOINC, ATC, ICD-10, ICD-10-AM) and Local Code Systems on the left. The bottom section displays the following views: Project Explorer, history, Search, Problems, and Commit Information. The perspective can be invoked by clicking the respective
![]() button in the toolbar.
button in the toolbar.
New members can be added by dragging them from the terminology views or from the search results into the value domains editor.

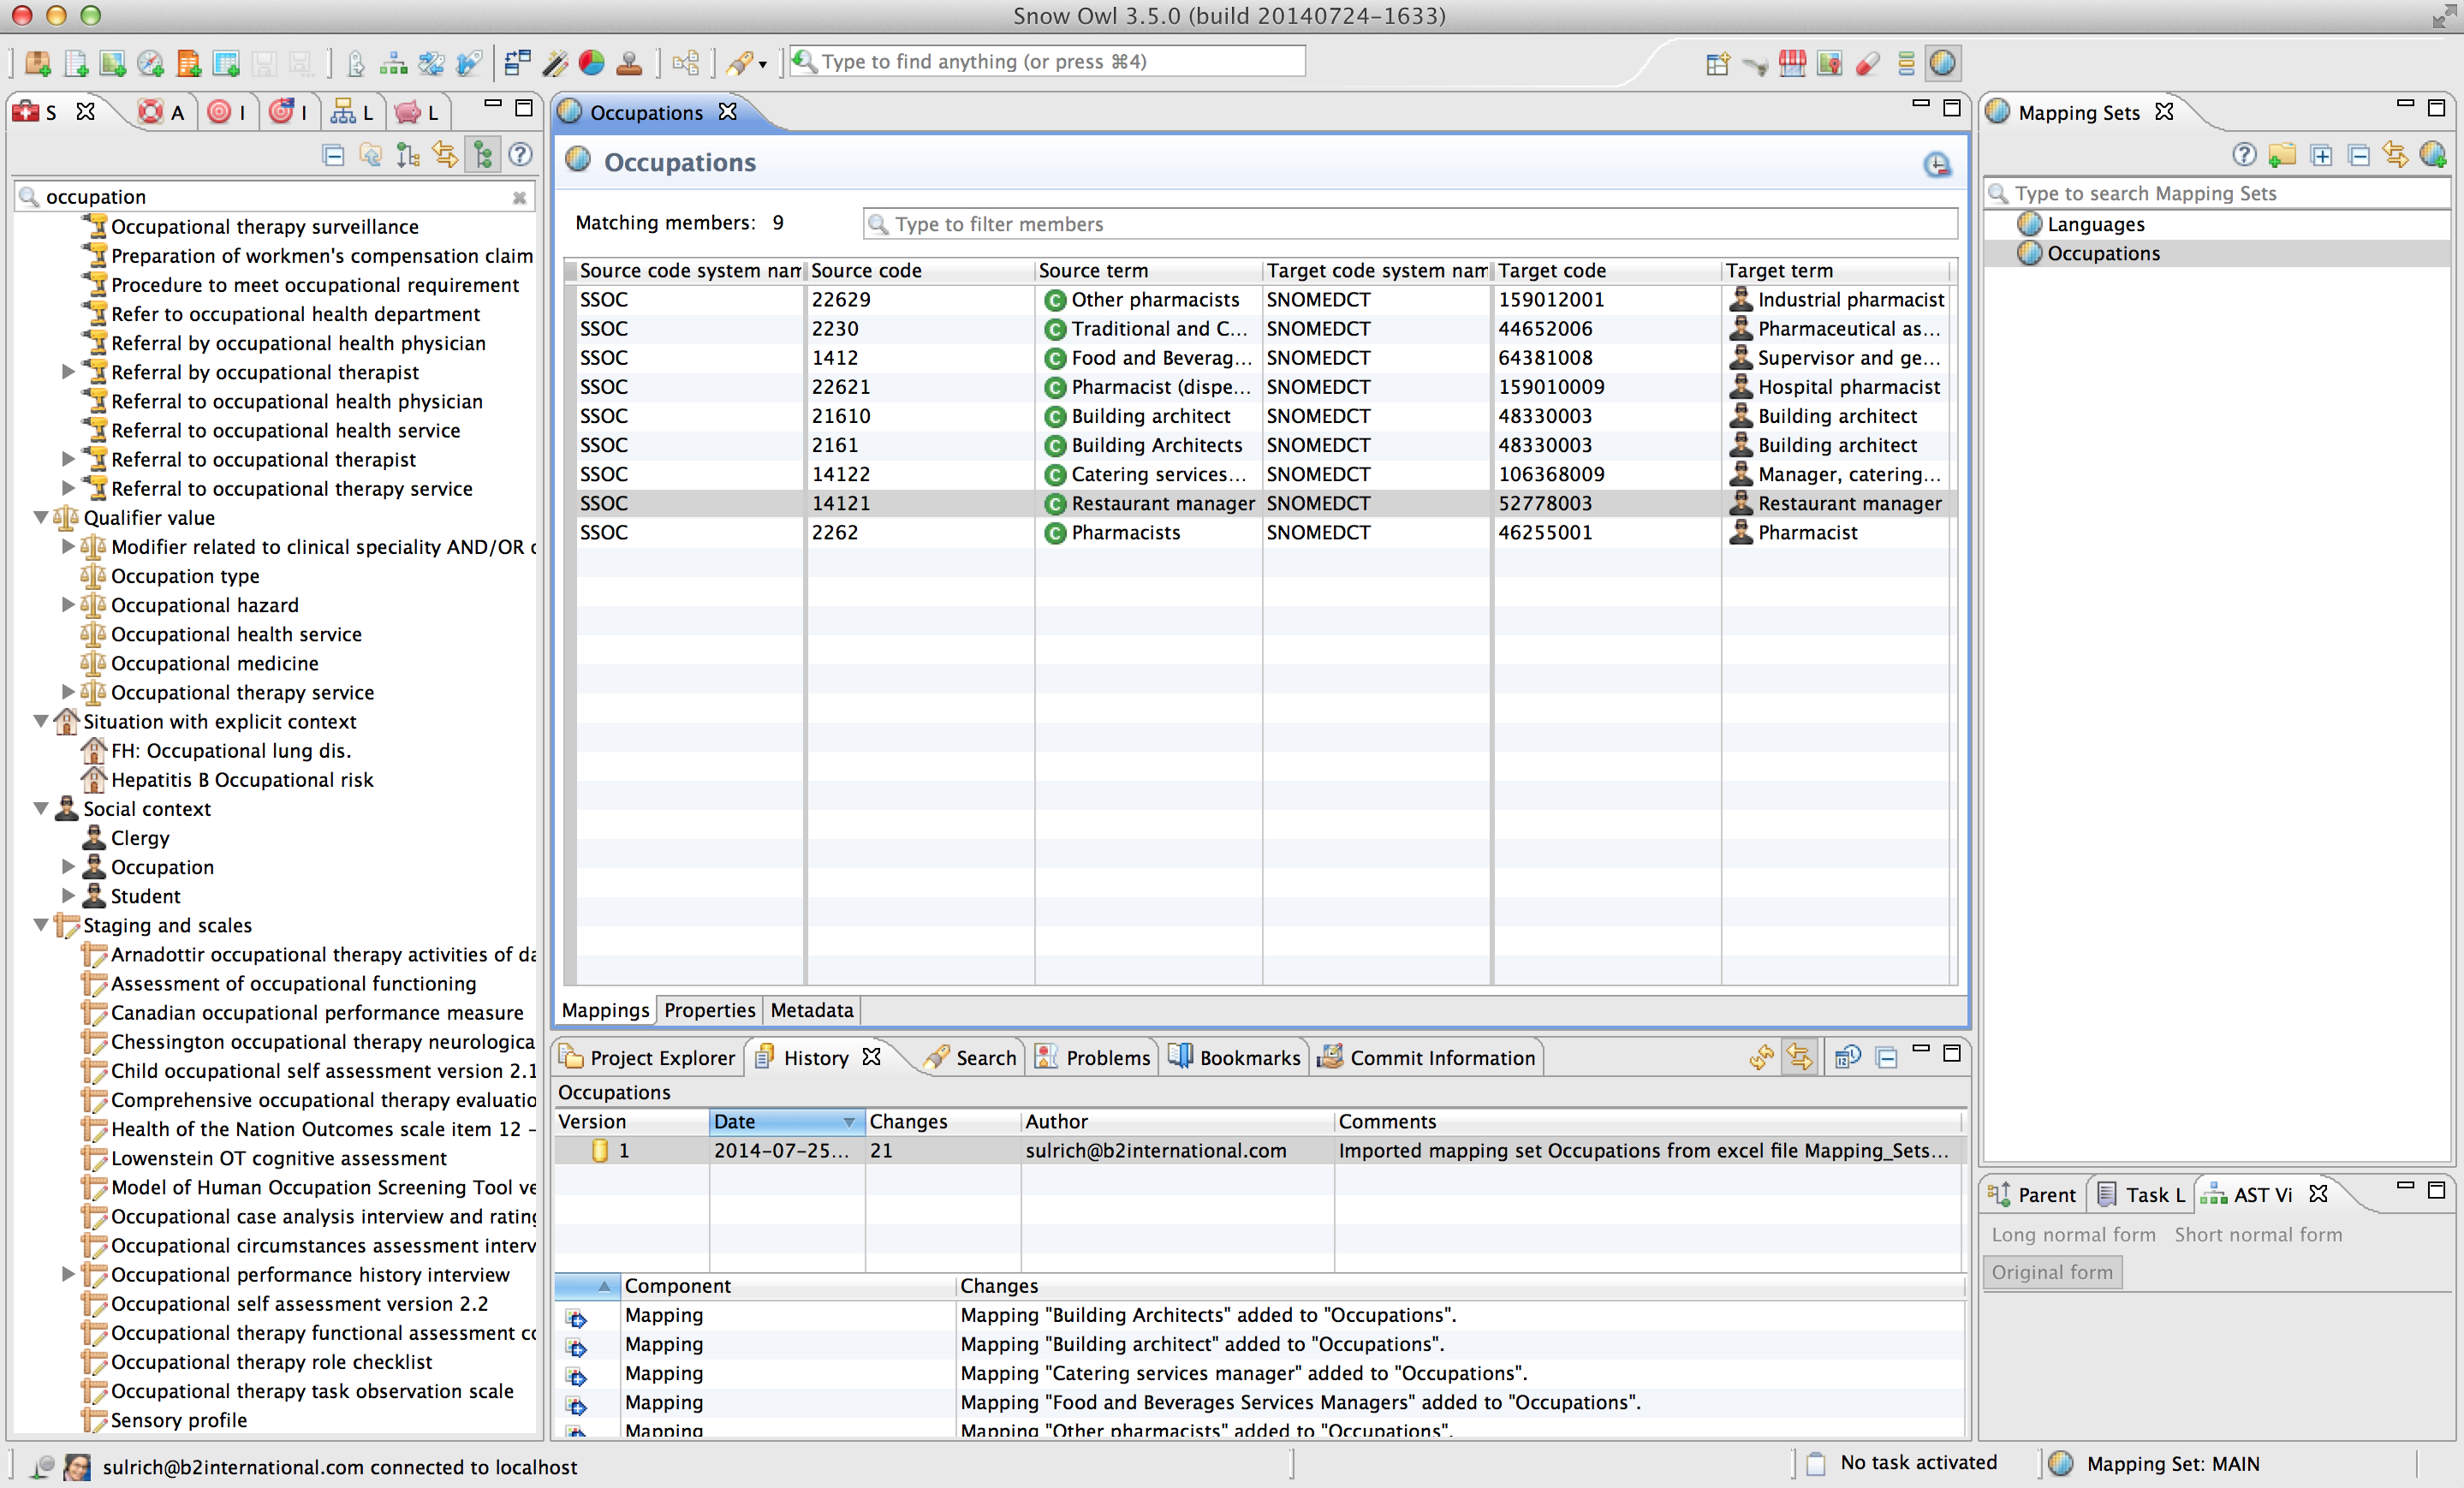
The mapping sets perspective displays the mapping set view on the right, and different terminologies (SNOMED CT, LOINC, ATC, ICD-10, ICD-10-AM) and Local Code Systems on the left. The bottom section displays the following views: Project Explorer, history, Search, Problems, and Commit Information. The perspective can be invoked by clicking the respective
![]() button in the toolbar.
button in the toolbar.
New members can be added by dragging them from the terminology views or from the search results into the mapping sets editor.
In addition to the preset perspectives layout, you can create your own perspective. This allows working with different layouts for different tasks. For example, when mapping SNOMED CT concepts to ATC codes, it may be useful to have the SNOMED CT Concepts view on the far left side of the screen, the ATC Concepts view on the far right side of the screen, and the editor window between them to simplify dragging and dropping concepts to the map editor. To create a new perspective
A new icon will be automatically added to the main toolbar allowing you to easily access your saved perspective. The icon depends on the perspective you started out from. For example, if you changed the look of the authoring perspective, an owl icon will be added to the toolbar; the original icon for the authoring perspective will be hidden. If you started out from the reference set perspective, a reference set icon will be used for your custom perspective, and the default icon for the reference set perspective will be hidden.
To bring up a perspective, go to Window > Open Perspective... and select the perspective that you want to display. The respective button will be shown in the toolbar. This way you can display default perspectives as well as customised perspectives. Hover over the icons to see which perspective it refers to.
If you would like to reset your current layout to the default settings, go to Window > Reset Perspective....
It's also possible to hide perspectives. Select Window > Close Perspective... to hide the buttons in the toolbar. The perspective will automatically be closed.
| Previous | Top | Next |
| Introduction | Application preferences |