
Task editor toolbar
| Task editor | ||
|---|---|---|
| Previous | Next | |
| The task list | Workflow | |
The task consists of two pages: Task page, and Review page, which can be switched by clicking the tabs on the bottom. The toolbar does not change when switching the pages.
The following functions can be accessed from the toolbar of the editor
Note: It's no longer necessary to submit changes manually, they are submitted automatically when saving. For this reason the submit button was removed from the UI.
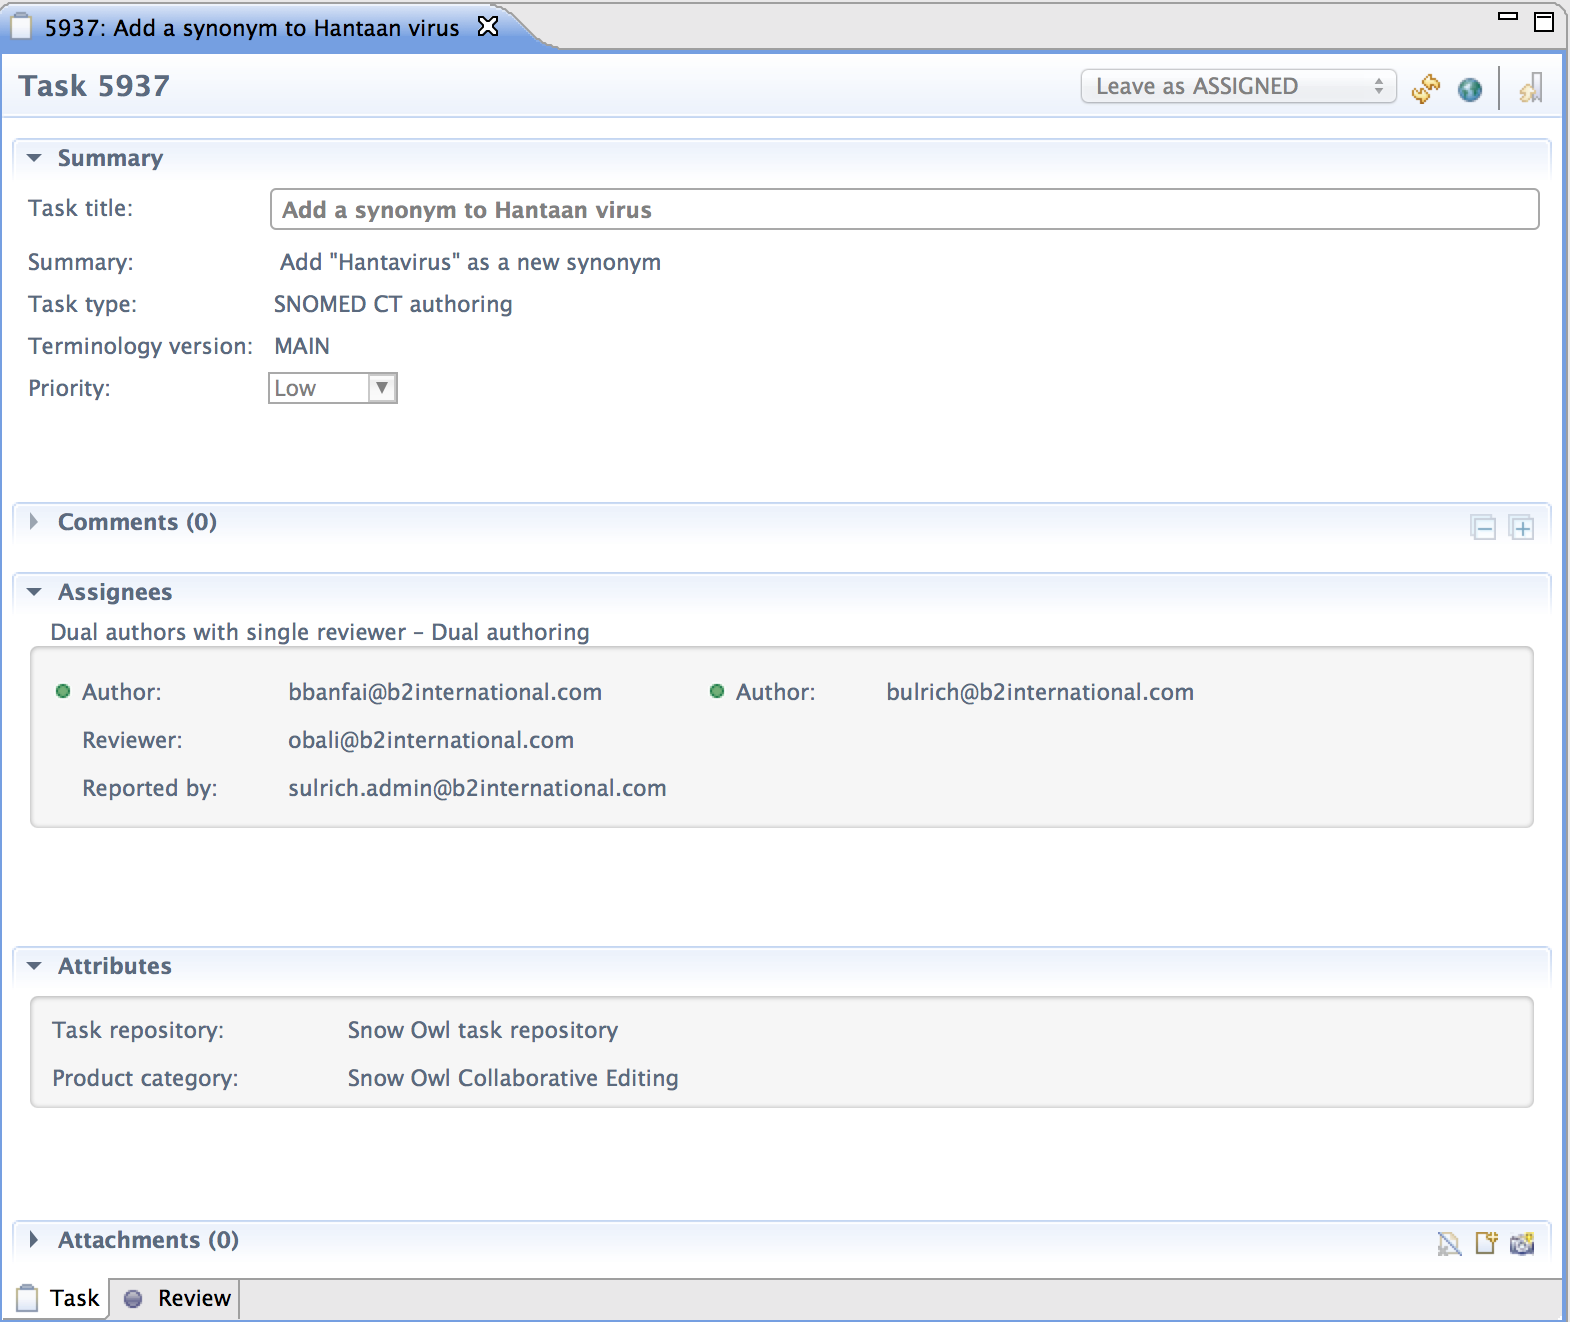
The task page displays information about the task. It can also be used to modify existing content.
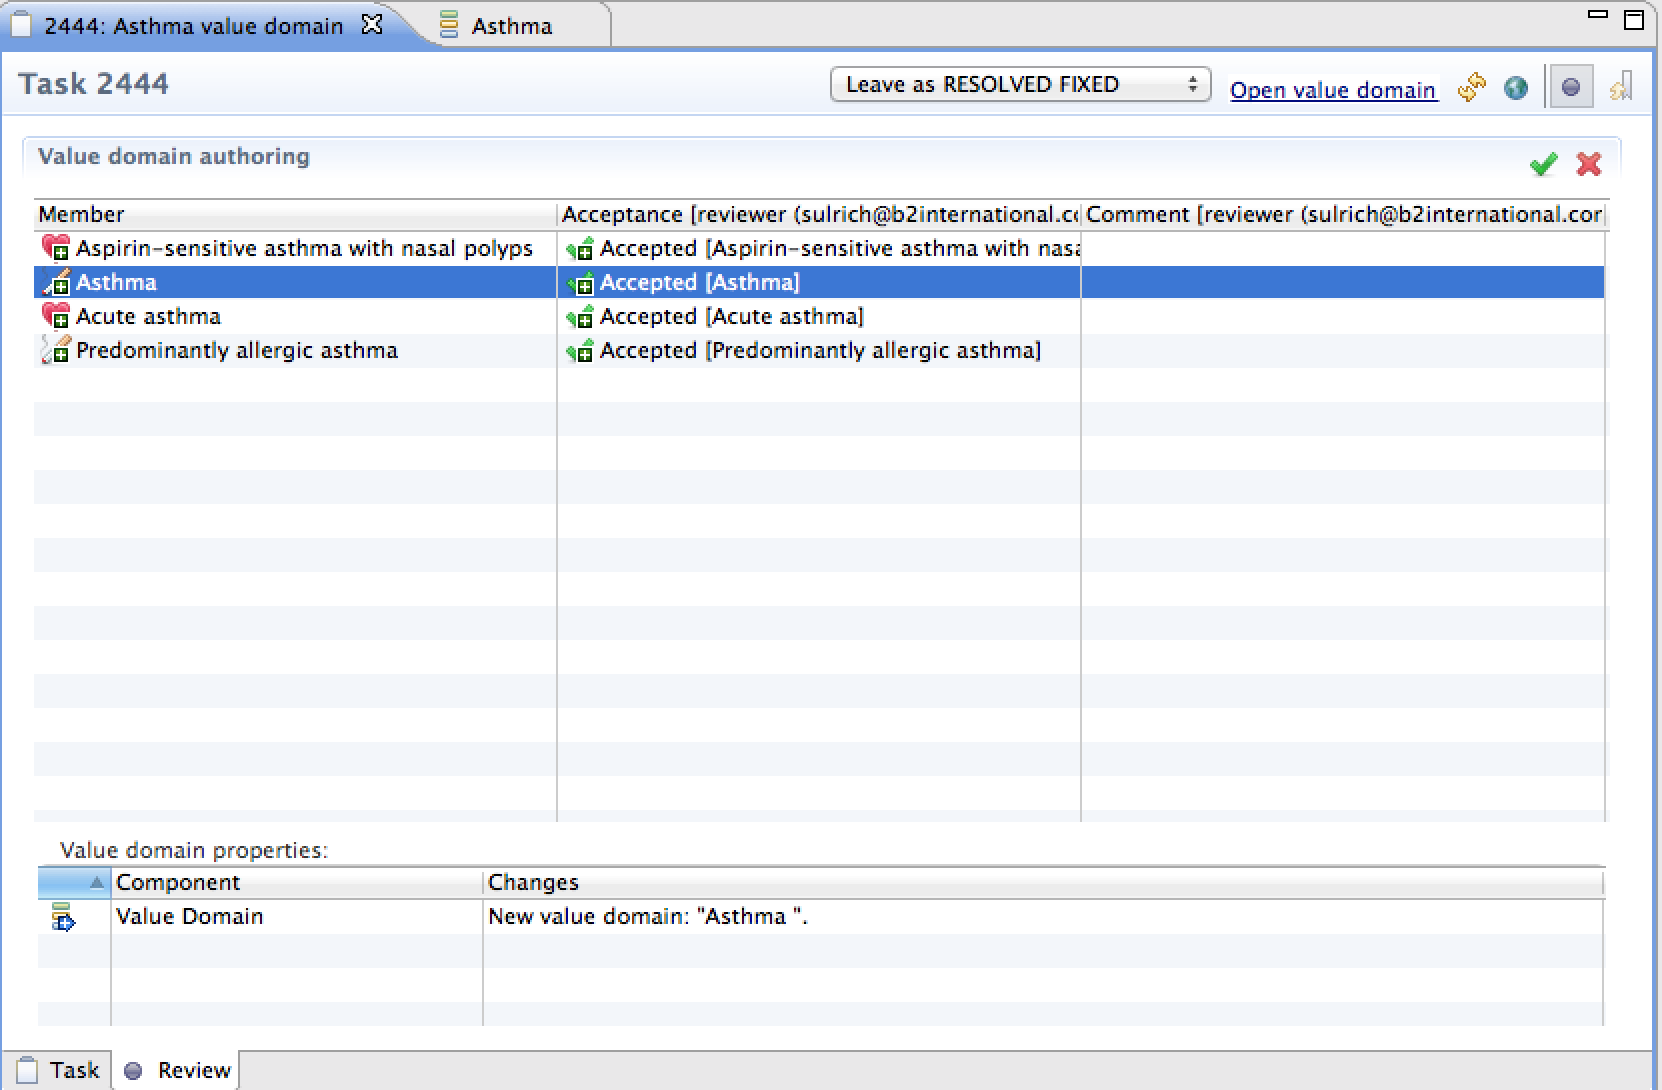
The review page displays changes that were made while the task was active. Different layouts support the selected scenario (e.g. number of authors and reviewers) and artifact type (e.g. SNOMED CT authoring, reference set authoring). See Use cases for more detailed information.
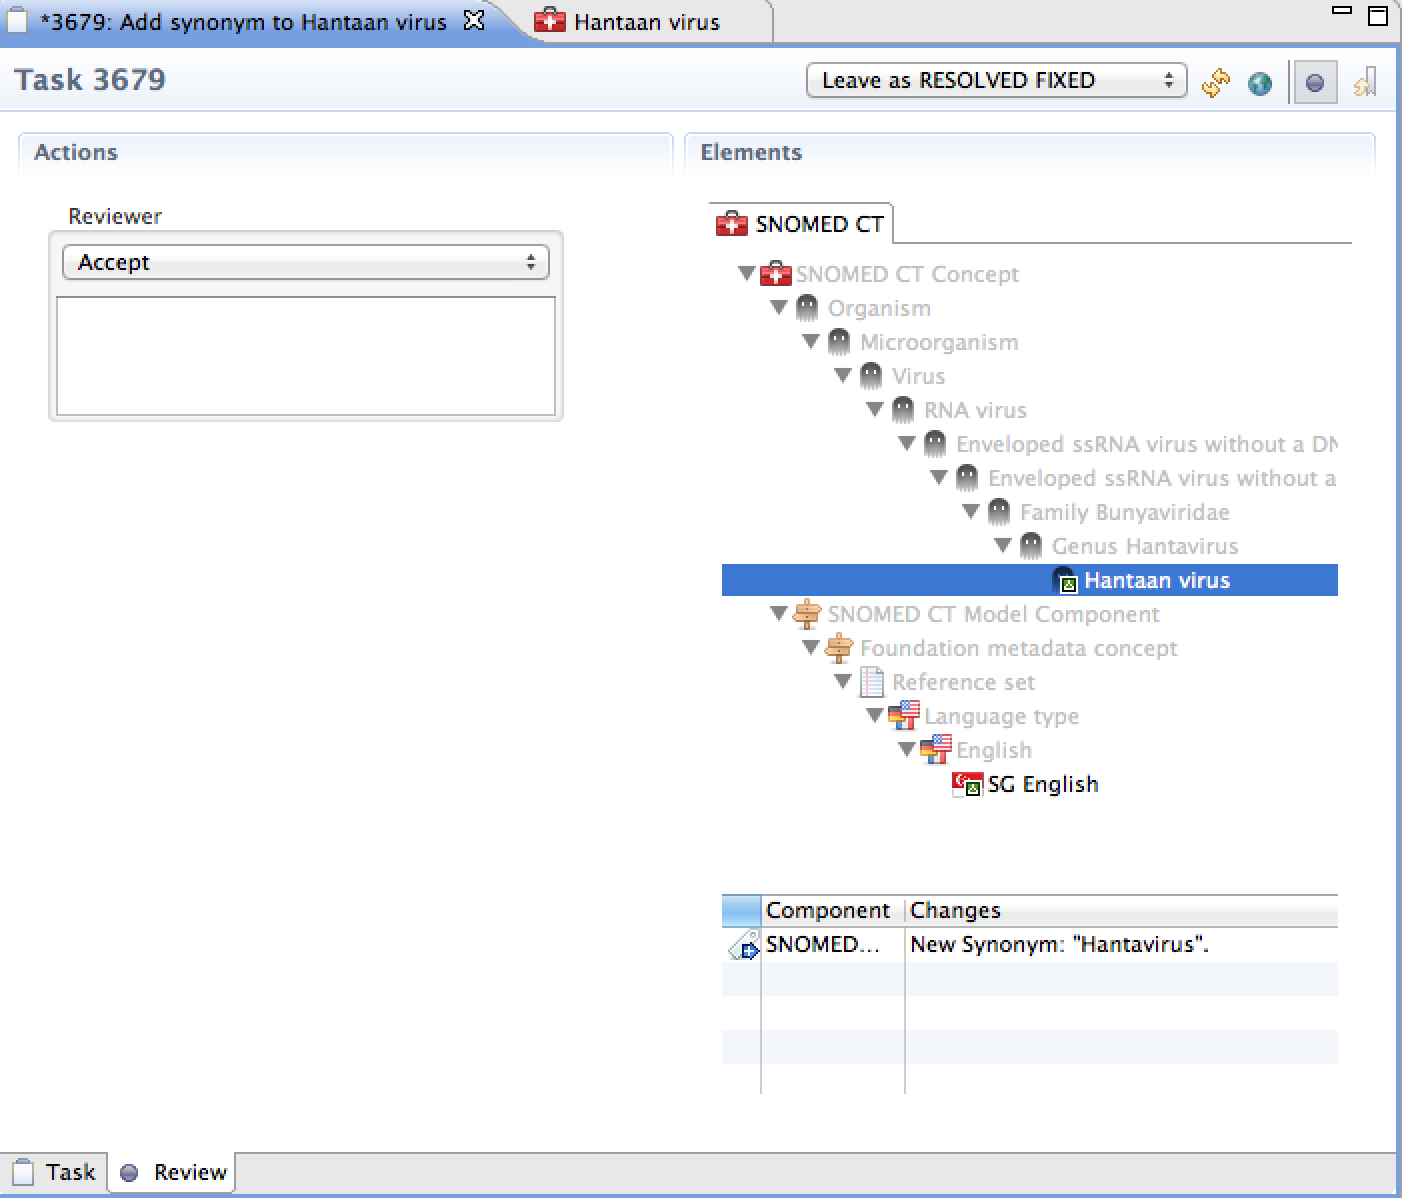
It displays the relevant parts of the concept hierarchy: If a concept, or any component associated with it has changed, it is added to the context with its parentage. If you click on a concept, you can see the types of modifications on the list below the tree (see screenshot). The icons associated with the changed concepts have a small decorator indicating if they have been added, changed, or deleted/inactivated. If a reference set was edited, the modifications appear in the same SNOMED CT hierarchy, attached to the reference set identifier concept. You can also open the concept editor by double-clicking on a concept.
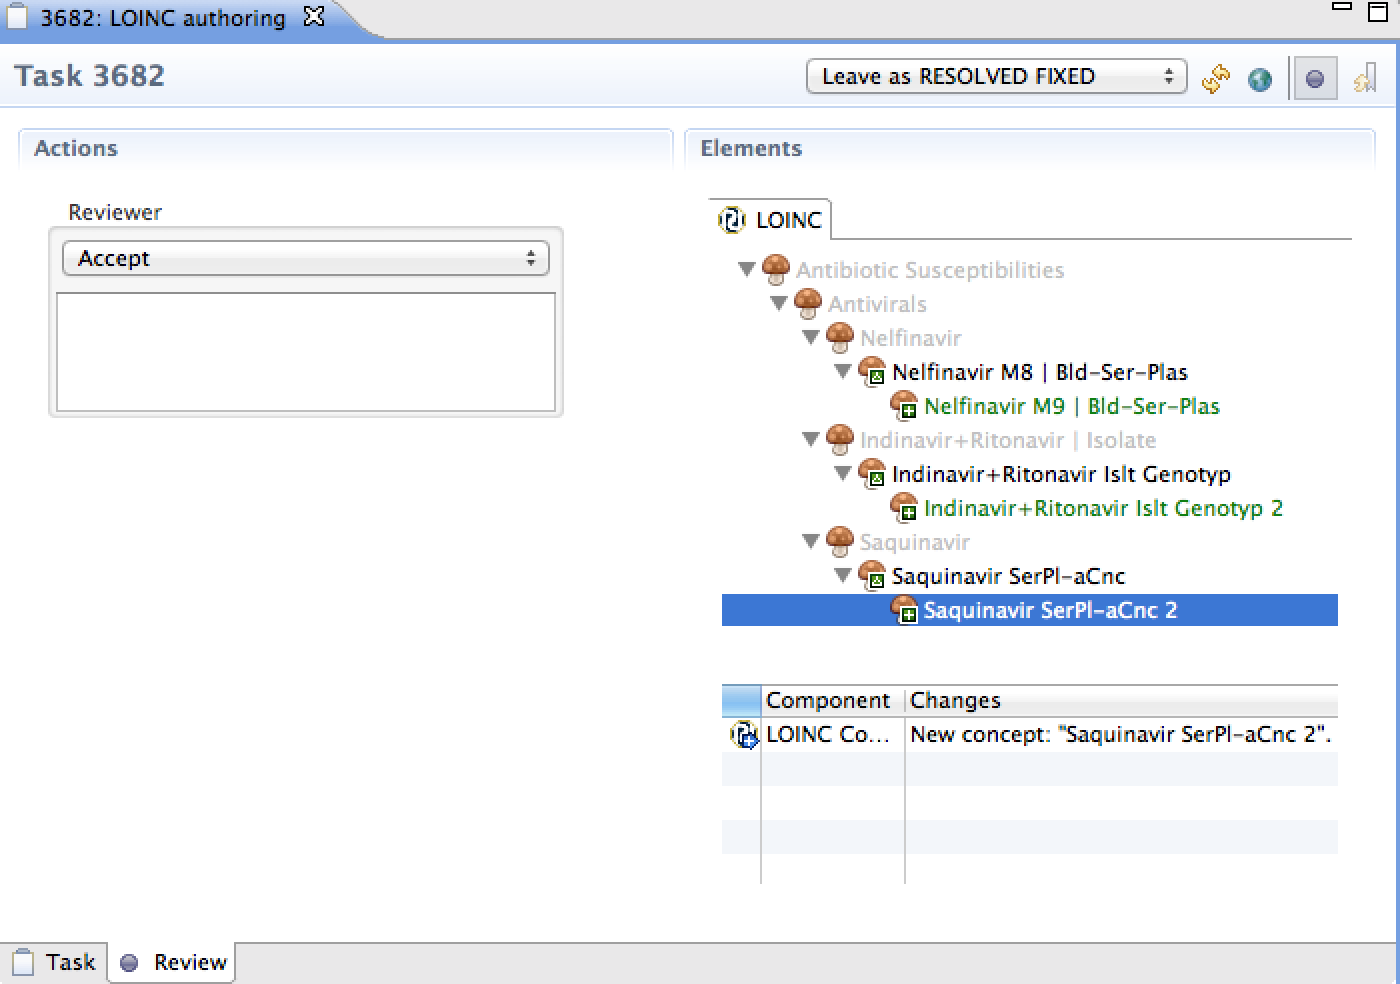
The same functionalities apply to ATC and LOINC authoring.
Changes made in ATC are displayed as a tree.

Changes made in LOINC can be reviewed as a tree.
The Attachments section of the task editor allows you to upload and access files. Uploading an attachment will make a file available to anyone who has access to a task. This way files (e.g. documents, photos, screenshots) related to the task can be shared with team members. The table shows the files that were attached to a task as well as additional information (file name, description, file size, person who uploaded the attachment, date of the upload).
To''' open an attachment''', double-click on the file name in the task editor. If you wish to open your attachment in a non default editor, right click on the item and select 'Open With...'. If the Snow Owl client is behind a proxy server, then opening the attachment will first open an embedded web browser within Snow Owl, and will ask you to authenticate to bugzilla. After successful authentication attachment opening works as expected.
Click the
"Attach..." button to open the wizard. There is also a toolbar icon
![]() on the right side of the section that invokes the wizard. When you
attach a file, a copy of the file will be uploaded to the shared repository.
on the right side of the section that invokes the wizard. When you
attach a file, a copy of the file will be uploaded to the shared repository.

Select from one of the following:
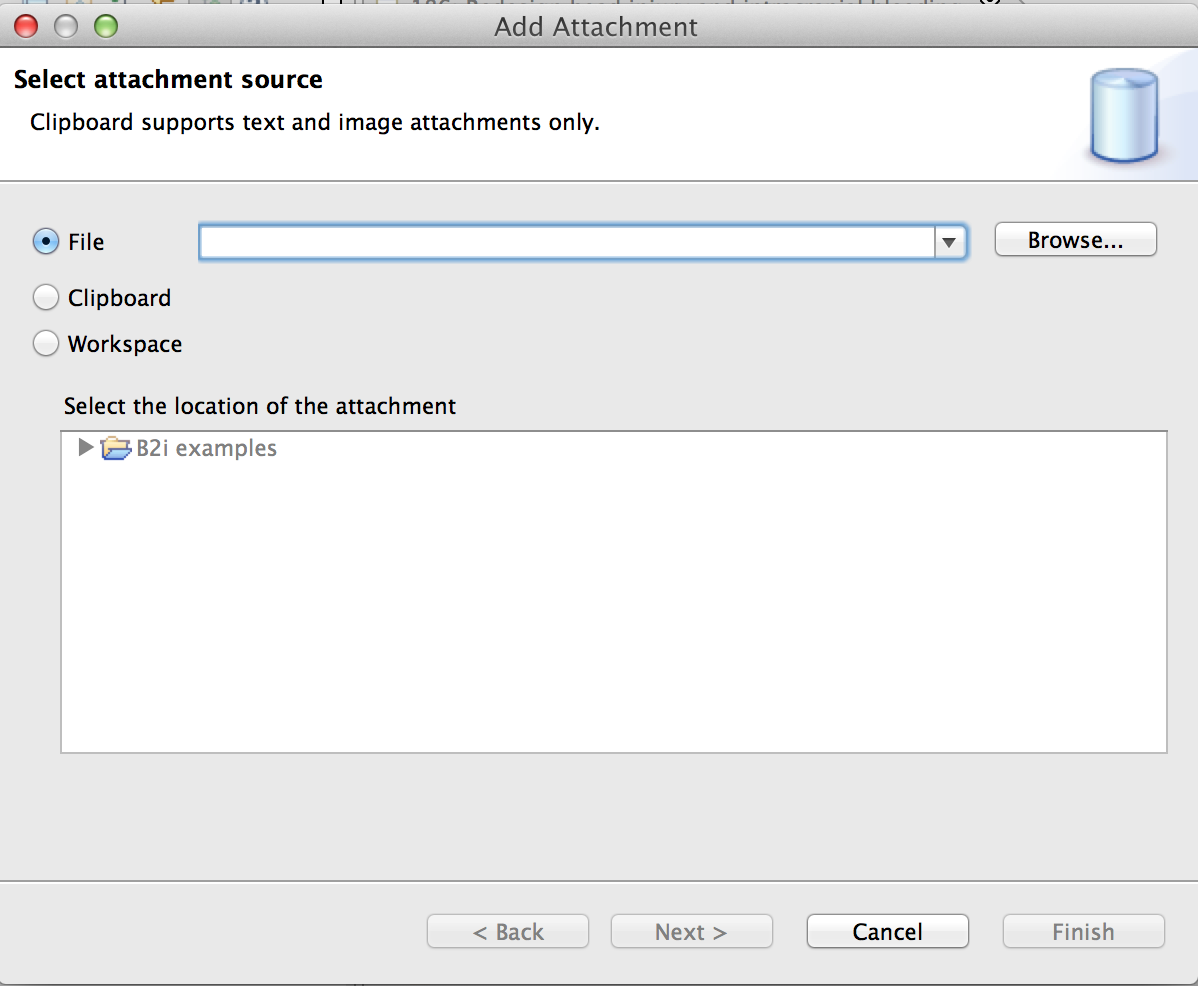
Click Next to preview your file. If your file is an image, a preview of the file will appear.
Click Next to proceed to enter the Attachment details.
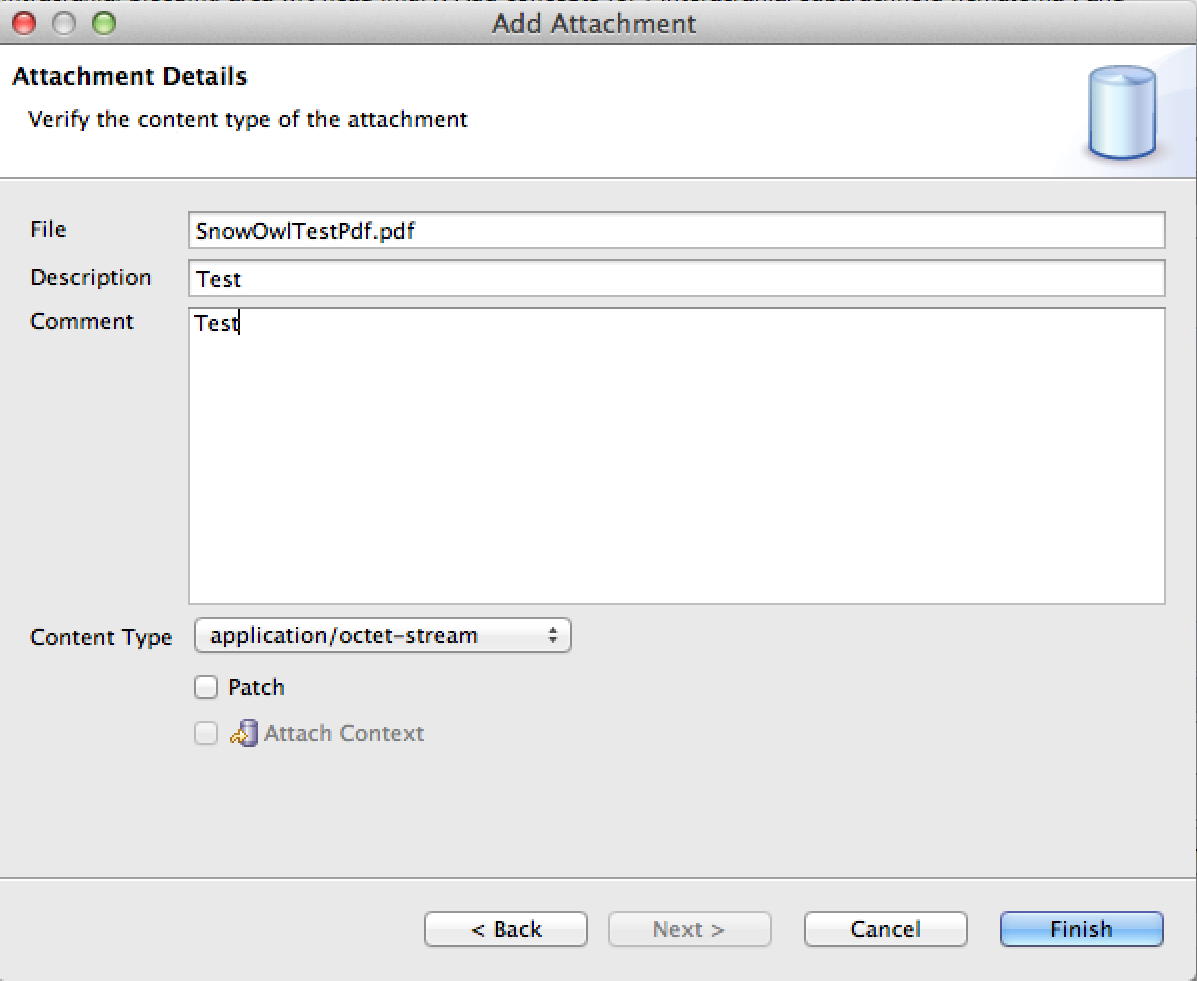
Click Finish to upload the file to the task repository. Please keep in mind that once an attachment has been uploaded it can not be deleted from the task management system anymore. Even attachments that are set as obsolete can still be accessed. To avoid mistakes, make sure you picked the correct file before uploading an attachment. After the upload, you need to synchronize the task editor to see your attachment. Whenever an attachment is uploaded, a entry is made in the Comments section with a link to the attachment.

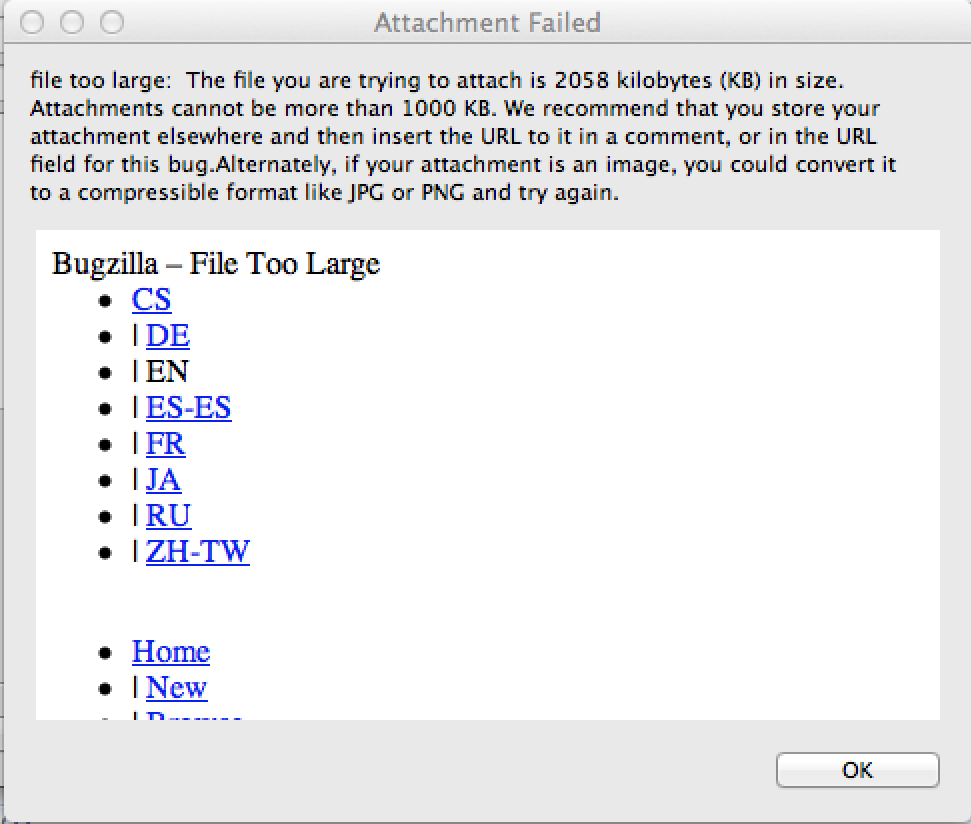
Attachments cannot be larger than 1000KB. For larger files, we recommend to store your attachment elsewhere and then insert the URL in the comment field, or in the URL field. If your attachment is an image, you could convert it to a compressible format like JPG or PNG.
If you want to
attach a screenshot to your task, use the
Attach screenshot
![]() button in the toolbar of the Attachments section to invoke the wizard.
button in the toolbar of the Attachments section to invoke the wizard.
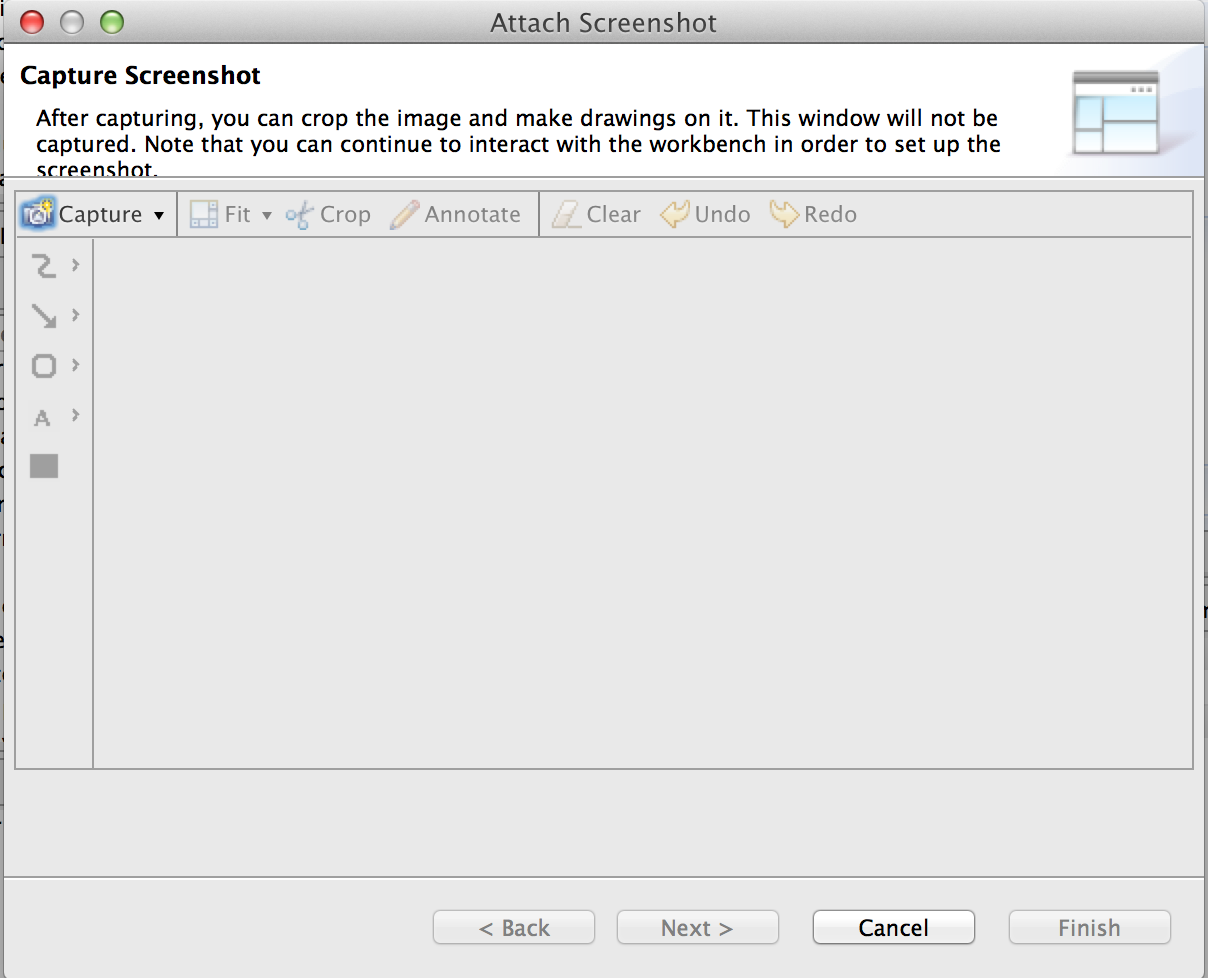
Open the context menu of the dialog by clicking on the small triangle next to Capture, and choose one of the following options
After capturing, you can edit the picture (e.g. cropping, drawing arrows) by using the icons.
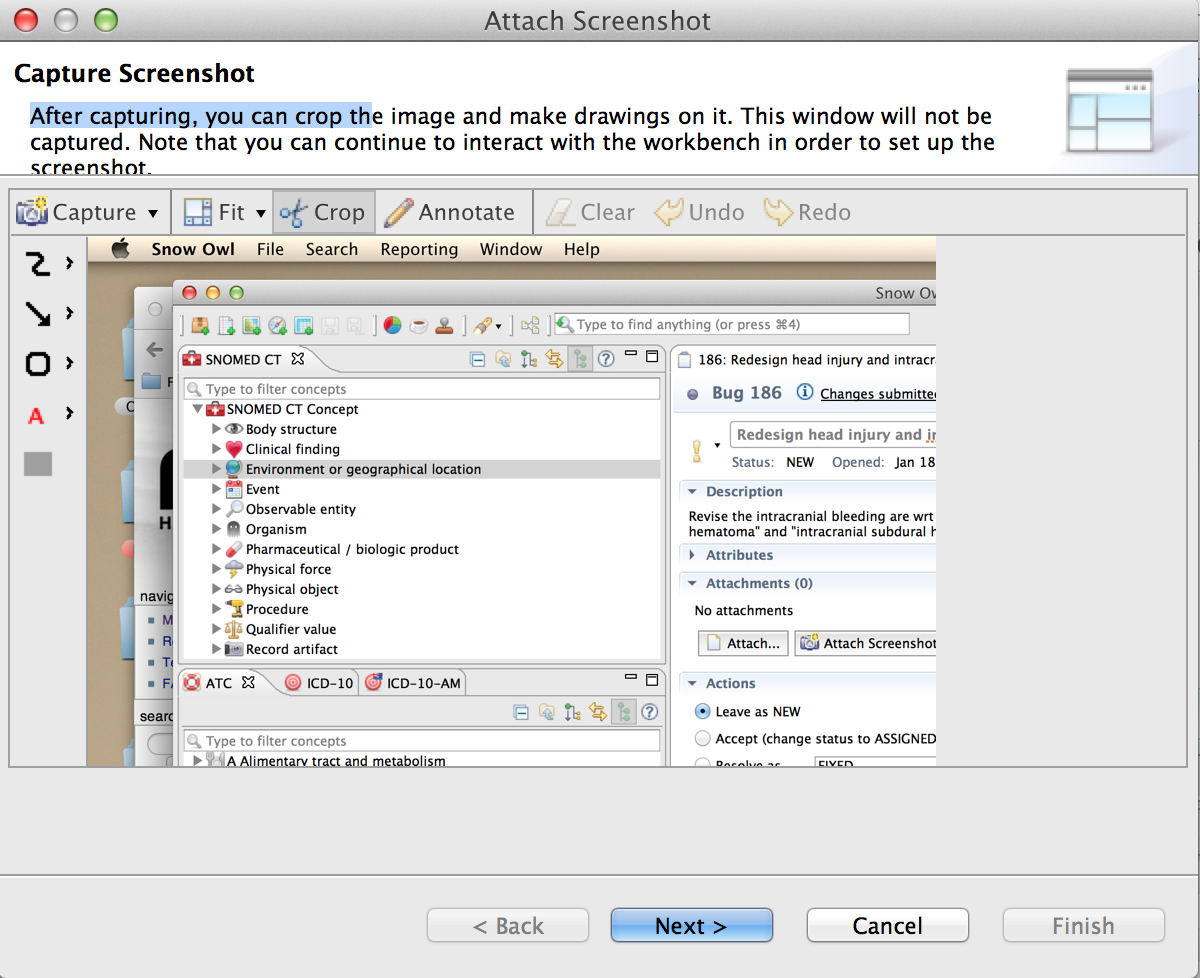
Once you are done editing, hit Next to review your attachment. If you are happy with your screenshot, hit Next to specify the attachment details. For further information about the attachment details please refer to the previous section.
Hit Finish to upload the screenshot.
If an attachment is no longer needed for a task, you can mark it as obsolete by right-clicking the attachment, and choosing Mark As > Mark Obsolete. The font color will change from black to grey, indicating that the attachment is no longer in use. It's not possible to delete an attachment.
You can
revoke the setting of obsolete attachments by choosing
Mark As >
Mark not obsolete. Use the toggle button
![]() in the toolbar button to hide/show obsolete attachments.
in the toolbar button to hide/show obsolete attachments.
| Previous | Top | Next |
| The task list | Workflow |