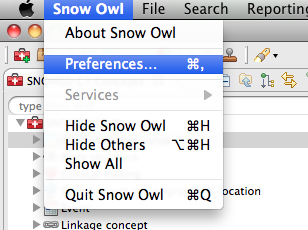
Opening Preferences on Mac OS X
| Application preferences | ||
|---|---|---|
| Previous | Next | |
| Introducing the Snow Owl user interface | Troubleshooting | |
Use the File > Preferences dialog pages to set how you want Snow Owl to operate.
You can browse the Preferences dialog pages by looking through all the titles in the left pane. Alternatively, you can use the filter field at the top of the left pane to filter the pages by name. The arrows in the upper-right section of the dialog enable you to navigate through previously viewed pages. To return to a page after viewing several pages, click on the small triangles next to the arrows to display a drop-down list of your recently viewed preference pages.

The preference page allows you to specify the values for SNOMED CT modules and effective dates. Default values are indicated in bold and are used in many parts of the user interface to populate fields with initial values.
Go to File > Preferences > Snow Owl > Modules to bring up the modules preference page where you can specify the settings for modules. The default module is indicated in bold.
To change the default module, chose a module from the list and click Make default. If you want to retrieve the previous settings use the Restore defaults button.

You can add and remove modules by using the respective buttons. Clicking the Add... button will bring up a list with available modules. Just pick a module from the list to add it.

Go to File > Preferences > Snow Owl > Namespaces to bring up the namespaces preference page. The default namespace is indicated in bold.
To change the default namespace, chose an item from the list and click Make default. To delete a namespace, select a namespace in the list and click Remove.
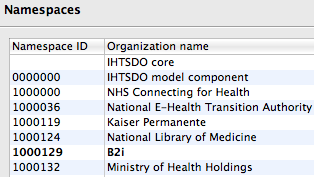
You can add a new namespace by clicking the Add... button. This will bring up a dialog where you can enter your Namespace ID and the name of your organization. Click OK to confirm. Please keep in mind that you receive a namespace ID only after registering with the IHTSDO.

The Restore Defaults button will retrieve the previous settings.
Go to Snow Owl > Editor Tables to see the subpages for different editors. The pages in this category let you to customize the appearance of tables in
These pages are further split into tabs, which pertain to a specific table of the given editor. Here you can choose what to show in the cells of the table columns shown on the left: an icon, a textual description or both. Alternatively, you can hide an entire column by setting it to Disabled.

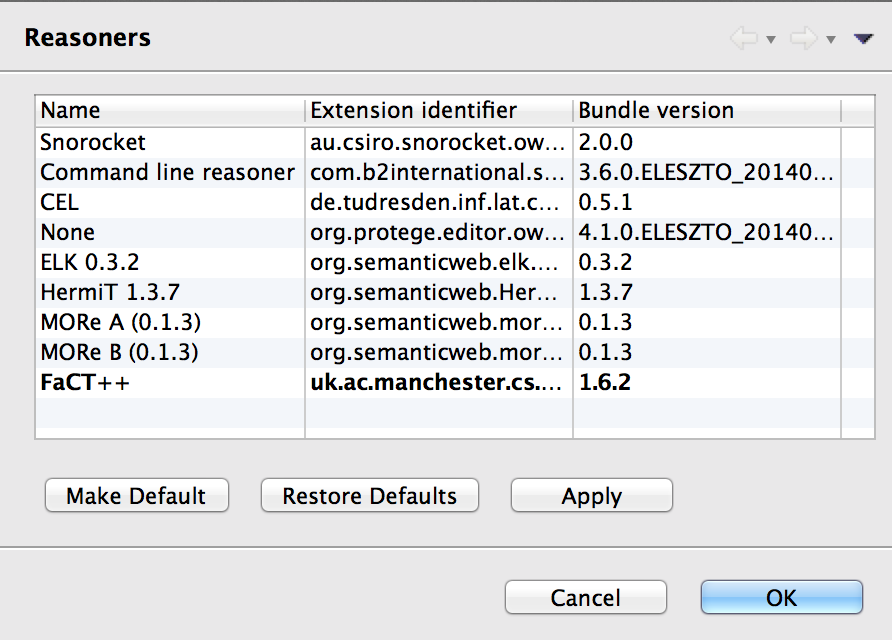
Go to File > Preferences > Snow Owl > Reasoner to bring up the preference page. The following reasoners are included with Snow Owl:
The default reasoner appears in bold. You can select which reasoner to use for classifying SNOMED CT. To change the reasoner, select one from the list and click Make Default. The list of available reasoners can be extended by installing additional Protégé 4.1 compatible reasoners. See How to install a classifier for details.
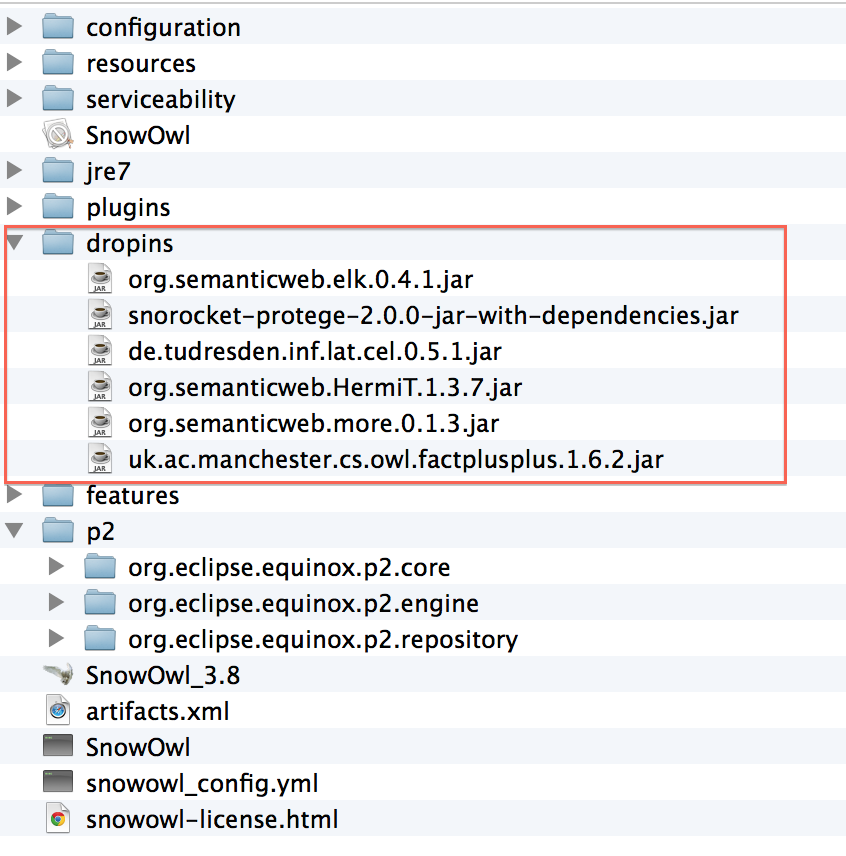
The reasoner set to default on the Application preferences page will be used for classification. It's also possible to install a different reasoner. Snow Owl supports Protégé 4.1 compatible reasoners by providing an extension point to allow external reasoners to be integrated and available for selection.
To add a reasoner,
Structural reference sets are automatically maintained when making changes in the concept editor and are hidden from the reference sets view after the import. Go to File > Preferences > Snow Owl > Structural Reference Sets to bring up the preference page.
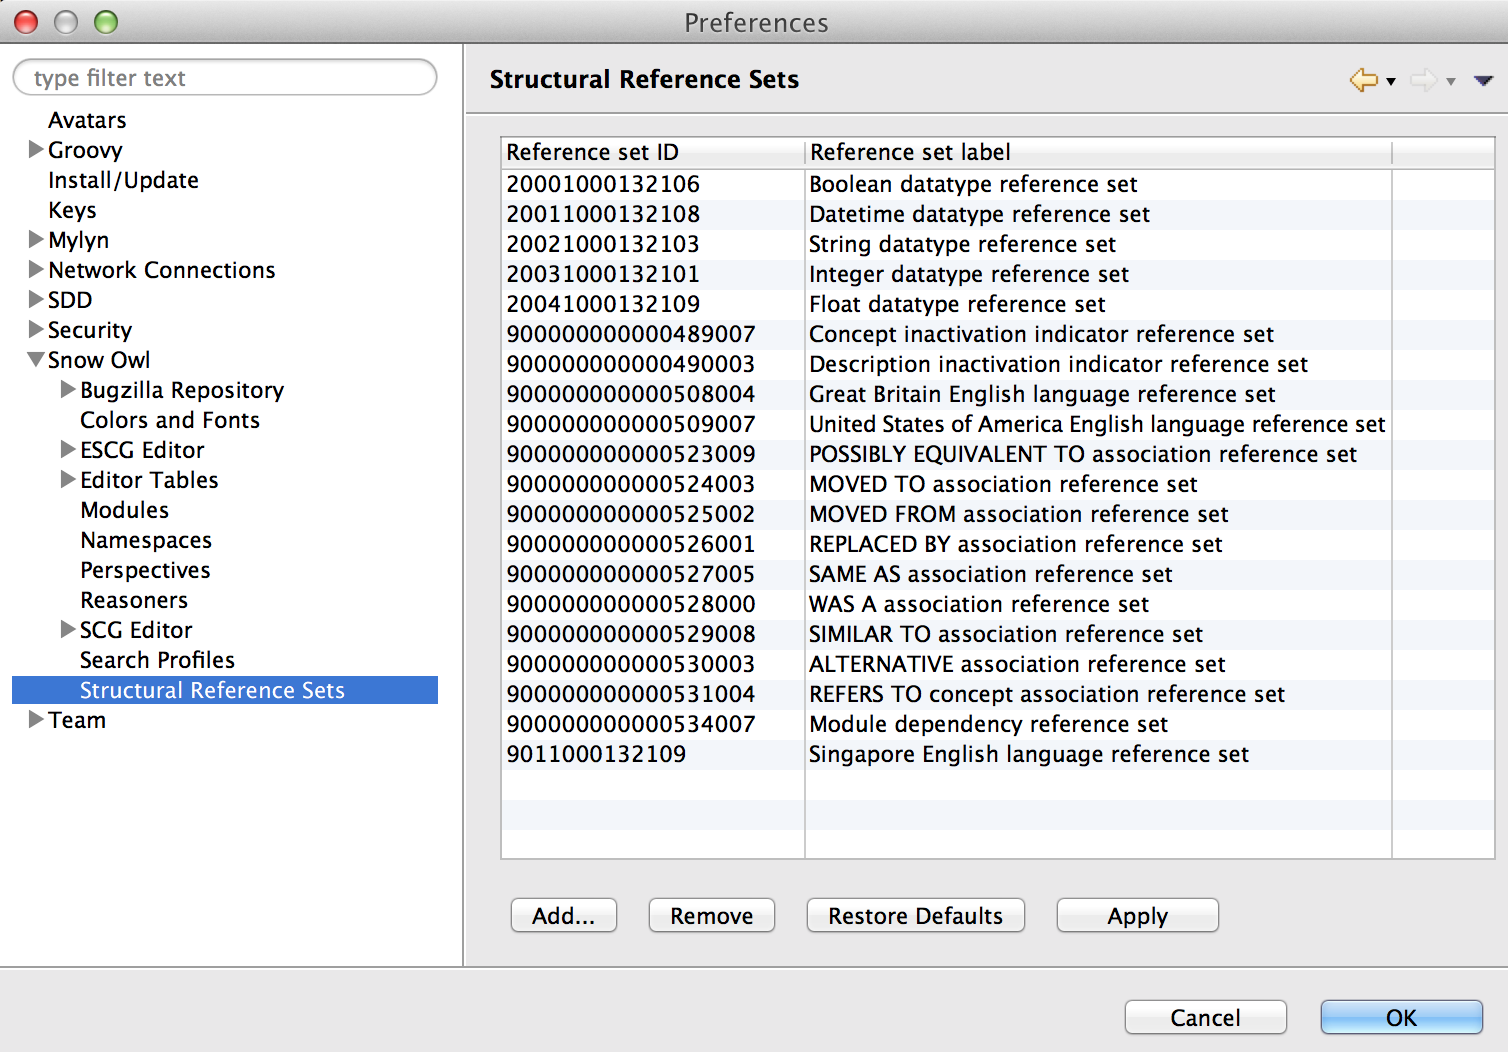
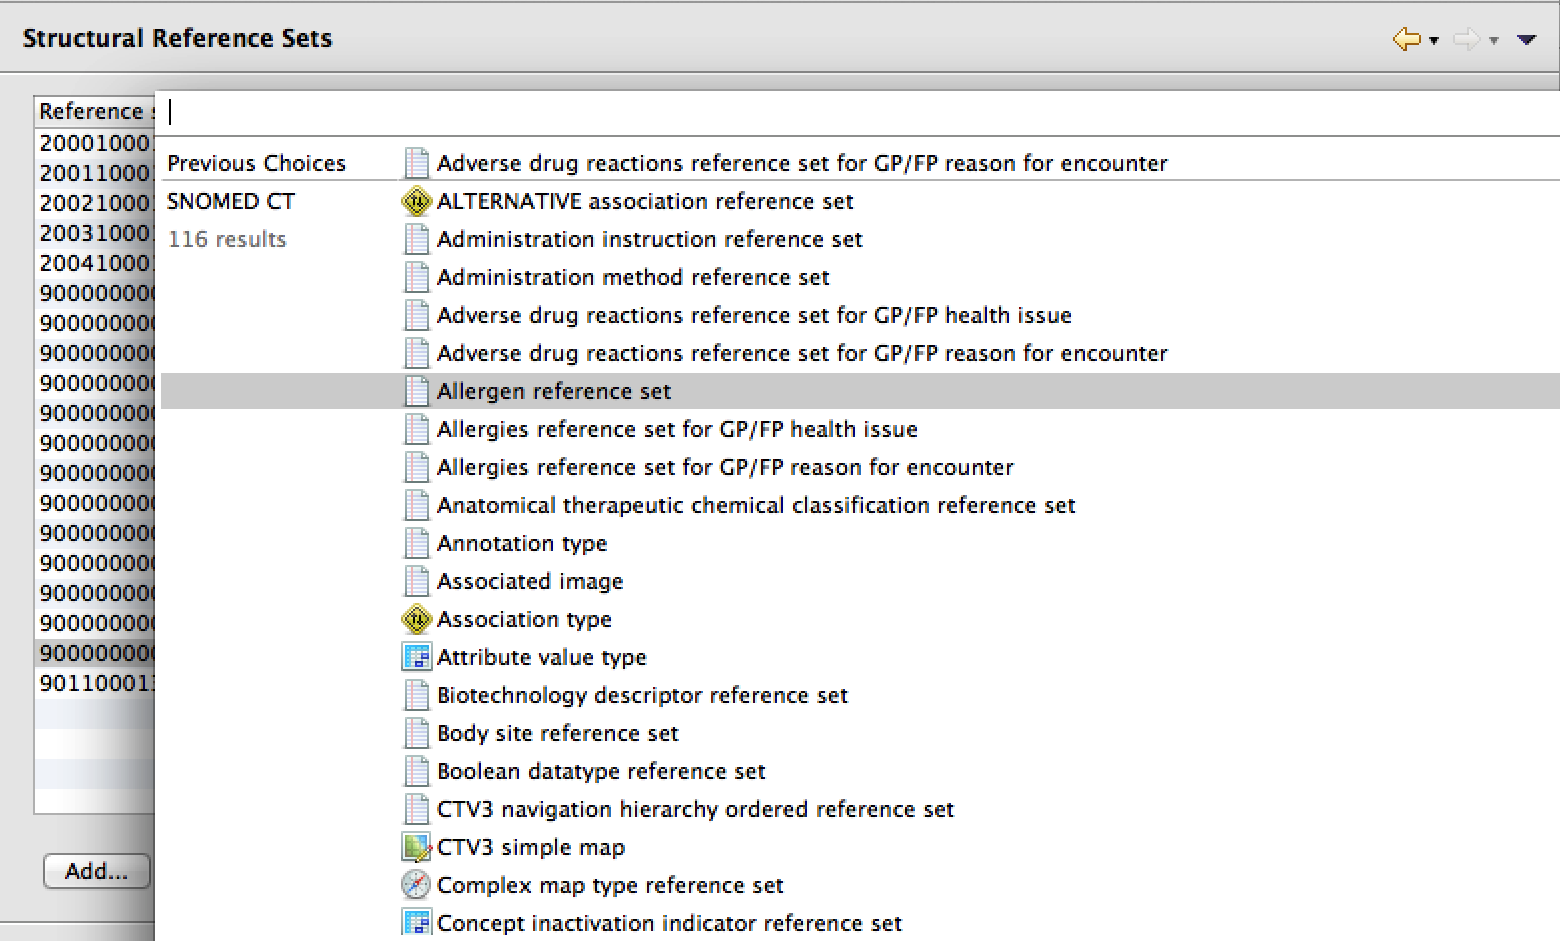
You can add and remove structural reference sets by using the respective buttons. Clicking the Add... button will bring up a list with available reference sets. Just click on a reference set from the list to add it. If you want to retrieve the previous settings use the Restore defaults button.
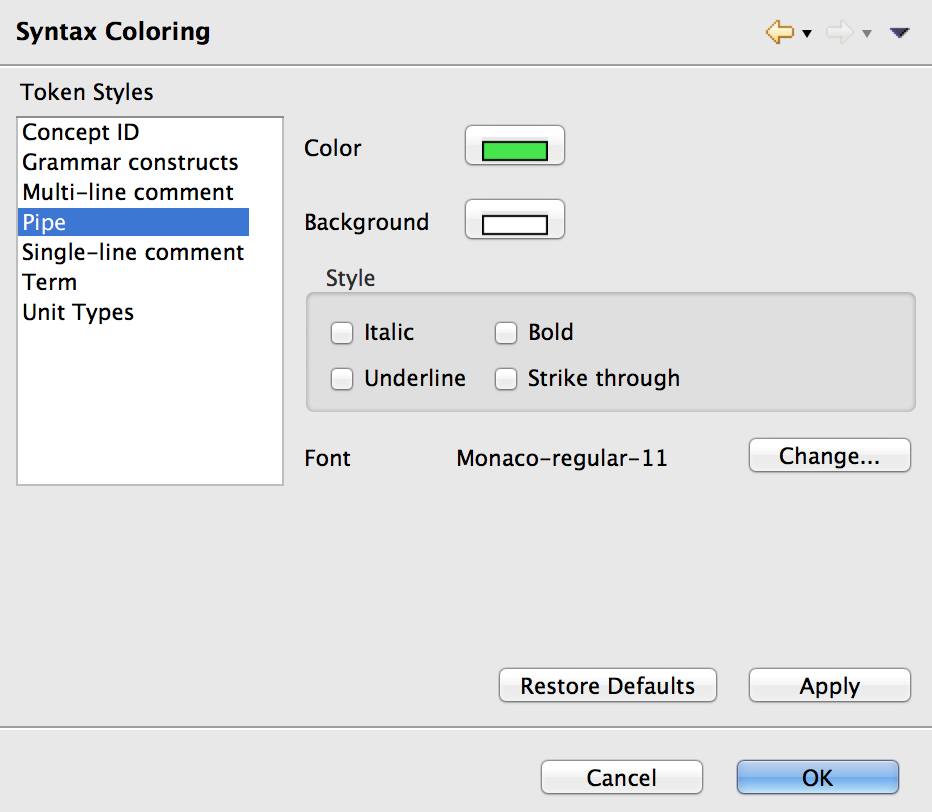
Go to File > Preferences > Snow Owl > ESCG Editor to see the subpages for Sytax coloring and templates. For more information about ESCG please refer to Getting started with semantic queries.
On this page you can customize the colors and fonts used for syntax highlighting in ESCG editors.
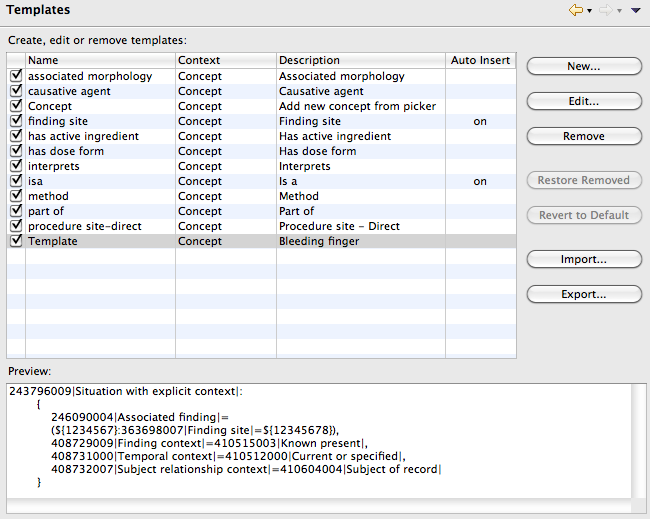
This page lets you add, remove and edit ESCG templates, which can be inserted using content assist (Ctrl + Space) in ESCG editors.
Go to File > Preferences > Keys to bring up the preference page. You can see the default shortcuts here and also make modification or define new shortcuts.
To modify a shortcut
Use Unbind to delete a shortcut and Restore command to revert to the default shortcut setting. Note: There are several commands displayed that are used in advanced Snow Owl features like user scripting languages. You can safely ignore the commands you are unfamiliar with.

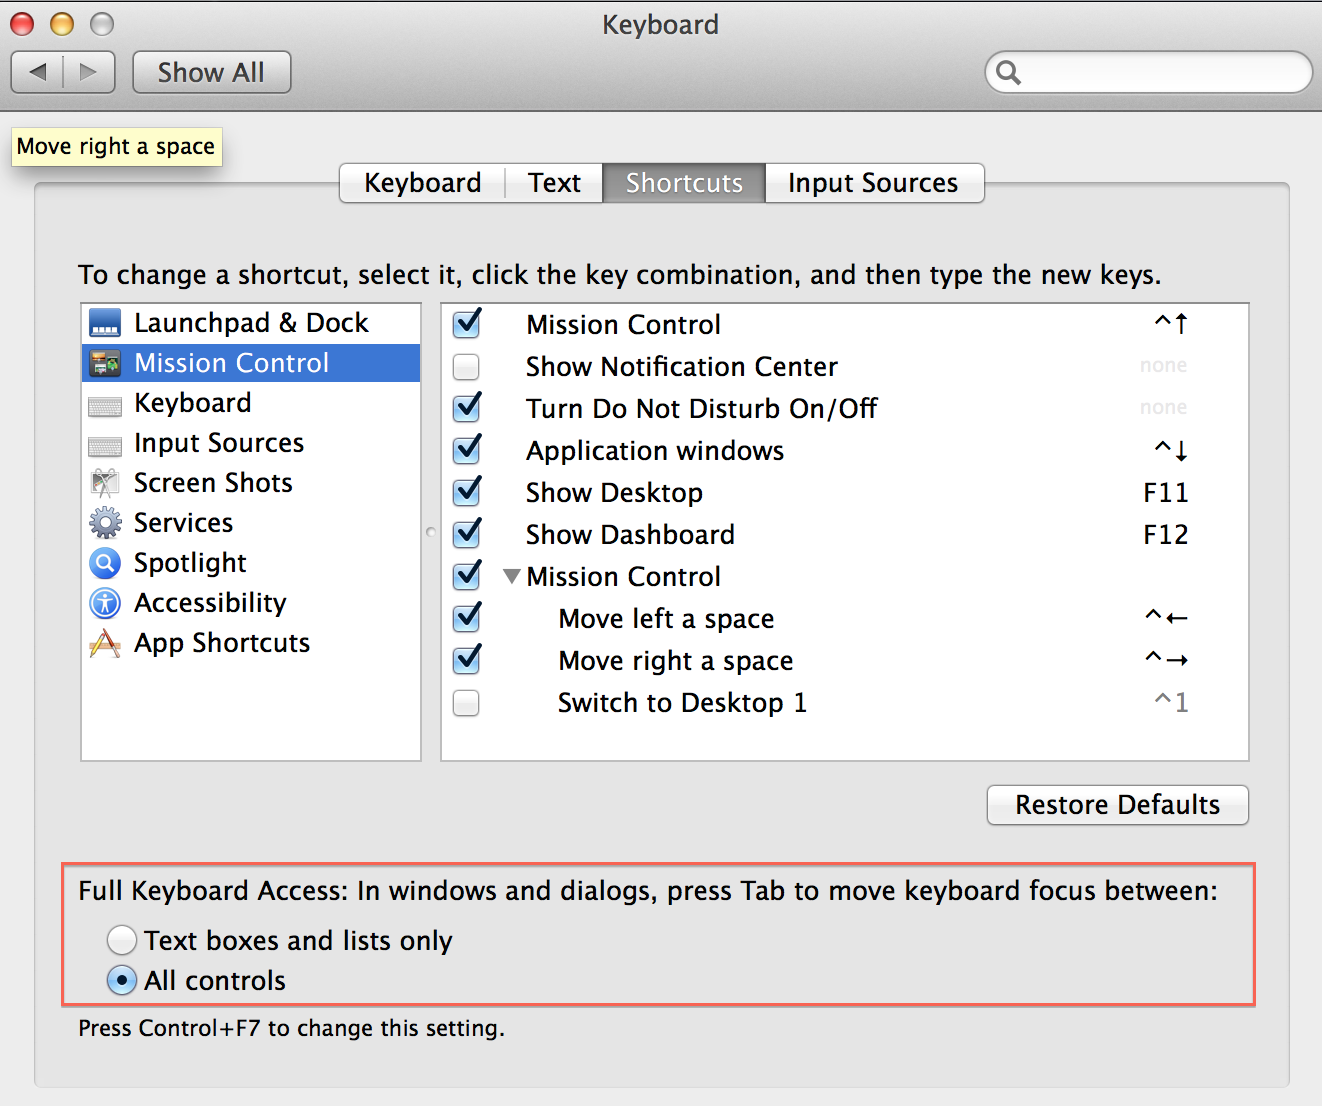
Tip for OS X Users: With full keyboard access, you can use the Tab key and arrow keys to navigate between Snow Owl's fields on the screen, and the Space bar to select an item. For full keyboard access select "All controls" on the Apple Menu > System Preferences > Keyboard page.
You can make your avatar appear in the status bar of Snow Owl and when making commits in collaborative mode. For this it must be registered at http://gravatar.org with your email address. Once your gravatar registration is complete, your image is automatically displayed. If necessary, you can refresh it on the Preferences page at File > Preferences > Avatars.

| Previous | Top | Next |
| Introducing the Snow Owl user interface | Troubleshooting |